In case you were unaware, 90% of the brain’s information is visual.
It can be challenging to make captivating video presentations, especially if you need to familiarize yourself with the necessary tools and methods.
You run the danger of losing your audience’s interest and needing help to communicate your idea properly.
To help you out, everything you need to know to make captivating PowerPoint video presentations will be covered in this blog article, from learning the fundamentals to experimenting with the newest features and advice.
Stay tuned to learn how to make captivating video presentations that can support you in reaching your objectives.
What Is a Video Presentation?

Video presentations are essential since they are a compelling and captivating means of conveying your message. Since the brain processes images far more quickly than words, using video in presentations can help you better hold your audience’s attention and help them retain the content. Moreover, because they can be customized for your particular audience and incorporate elements like storytelling and interactivity, video presentations have the potential to be more engaging and personalized than traditional presentations.
Formats
Video presentations come in various forms, each with unique advantages. Among the most popular formats are the following:
Animated explainer videos: These animated videos employ primary language to convey complicated ideas excitingly. Companies frequently use them to describe intricate technological procedures or to launch new goods or services.
Screencasts: Videos called screencasts are made while you’re working on a task on your computer. They are frequently used to produce training or lesson videos, which let you walk your viewers through a study step-by-step.
Tutorials: Videos that walk viewers through a process step-by-step are called tutorials. They frequently produce instructional videos, such as those that show viewers how to assemble a device or operate a new piece of software.
Video ads: Short commercials, known as “video ads,” are used to advertise goods and services. They are frequently utilized on social media and other online platforms.
Application
There are several contexts where video presentations can be utilized, such as:
Marketing: Engaging marketing materials like explainer films, product demos, and customer testimonials may be made with video presentations. They can also be used to produce video advertisements and content on social media.
Training: Videos intended for customers, employees, or both can be made with PowerPoint presentations. They can also be utilized to make training movies for salespeople and onboarding.
B2B communication: Sales pitches, product demonstrations, and client presentations can all be made with video presentations. Online events and seminars can also be made with them.
Expos: Video presentations can create product booths and interactive displays at expos and trade shows. They can also be used to create promotional videos for expos and trade shows.
Benefits of Creating a Video Presentation

1. Persuasiveness of Video Presentations
Videos appeal to the senses of sight, sound, and emotion, which makes them naturally appealing. This enables you to convey your message better and shape your audience’s opinions. Your audience can be moved to action by your video presentations by employing emotional appeals, gripping imagery, and interesting storytelling.
2. Enhanced Information Retention
Information can be communicated more effectively with videos than with typical text-based presentations. This is because videos encode information in the brain using a variety of modalities, including motion, sound, and images. A multi-modal encoding method improves memory and recall of the material.
3. Accessibility on Mobile Devices
Video presentations are becoming more and more crucial for reaching a larger audience as smartphone usage rises. With the ease of access and viewing on smartphones and tablets, mobile-friendly video presentations allow you to get people wherever they are.
4. Time Efficiency
You may communicate your point more effectively and save time using video presentations. You can utilize video to concisely and engagingly visually communicate your topic rather than reading through a long presentation. For time-constrained, busy audiences, this can be helpful.
Creating a Video Presentation in PowerPoint

Step 1. Include a video narration
Making your presentations more exciting and educational can be achieved by adding a voiceover or importing an already-existing audio file to give a story for your slides. Additionally, it can assist in improving the accessibility of your presentations for individuals with visual impairments or those who struggle with text reading.
All you have to do in PowerPoint is select the “Record Slide Show” tab and press the “Record” button to start recording a voiceover. At this point, you can begin speaking into the microphone to record your audio. Make sure to take a break between slides so viewers can follow along. After the recording is over, click the “Stop” button.
Select the “Audio” button from the “Insert” tab to import an audio file into PowerPoint. Click “Insert” after selecting the audio file you wish to import. Subsequently, you can reposition and modify the size and volume of the audio file on the slide.
Step 2. Synchronize video with slides
You can take the following actions to modify the timing of each slide so that the audio and images are in sync and the presentation flows smoothly:
Examine what you presented. Play it through to get a feel for your presentation’s general flow and rhythm from start to finish. Find any places where the time needs to be changed if the images and audio are not synced.
Modify the time of the slide. Choose the slide you wish to change, then pick the “Transitions” option to change the timing. You can change the transition speed and the slide length in the “Timing” group. The slide advance can also have a delay added to it.
Examine the alterations. After modifying the slide timing, play back the modified content to ensure the audio and images are in sync. Clicking the “Preview” button in the “Transitions” tab will allow you to accomplish this.
Step 3. Switch layouts in slide properties
You can use the following advice to alter the arrangement of your slides to maximize the presentation’s visual impact:
Choose a suitable layout. PowerPoint offers a variety of slide templates to choose from. When selecting a form, consider the type of content that you will be presenting and how you want to represent it visually. For example, if you are giving a lot of text, choose a layout with a large text box. Select a form with an extensive image or video placeholder if you are showing pictures or videos.
Use color and fonts effectively. Color and fonts can have a significant impact on the visual appeal of your presentation. Choose colors that are complementary and eye-catchingly easy to read. Use only a few different fonts, as this can make your presentation look cluttered.
Use visuals effectively. Visuals can make your presentation more connecting and informative. Use high-quality images, videos, and graphics to illustrate your points and to break up your text. Be sure to size and position your visuals carefully to make them easy to see and read.
Use white space effectively. White space is the space between your slide’s text, images, and other elements. White space can help to make your presentation look more organized and professional. Don’t be afraid to use white space to separate your content and to make your slides more visually appealing.
Use transitions and animations freely. Transitions and animations can add interest to the presentation, but use them sparingly. Too many changes and animations can be distracting.
Step 4. Customize your template
Choose the suitable animations and transitions. When choosing animations and transitions, consider the type of content you are presenting and your overall tone and style.
Use animations and transitions. Too many animations and changes can be distracting and make your presentation challenging. Use them differently to highlight key points or to create a sense of flow and movement in your presentation.
Use visual effects. Visual effects can add interest and excitement to your presentation, but use them sparingly. Too many visual effects can be overwhelming and detract from your message.
Preview your changes before you apply them. Once you have added animations, transitions, and visual effects to your presentation, preview it carefully to ensure they are effective and not distracting.
Step 5. Publish your video presentation:
Export your PowerPoint presentation as a video file, choosing the desired quality and resolution.
Tools for Making Video Presentations
Although PowerPoint is a widely used application for video presentations, alternative options exist. Among the noteworthy ones are:
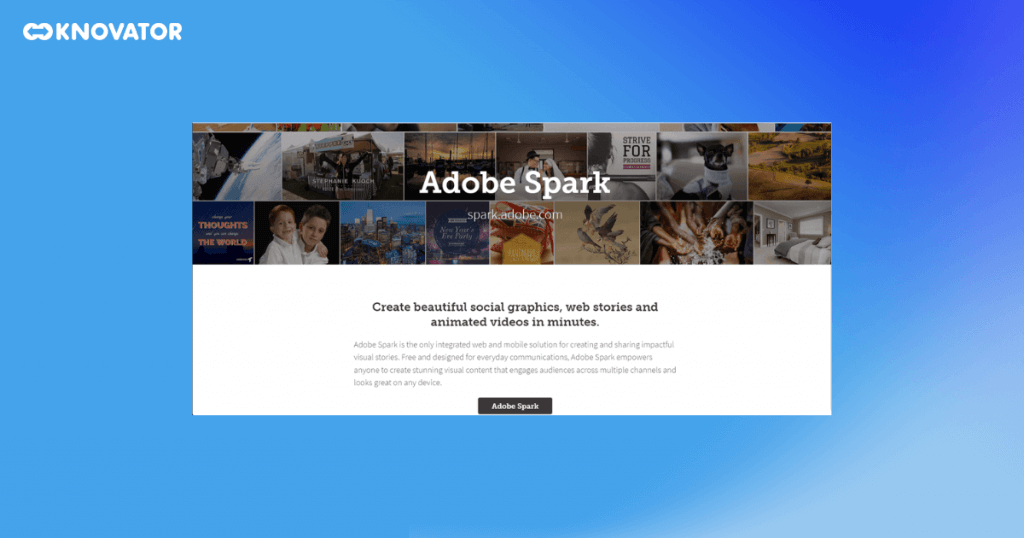
1. Adobe Spark
Advantages
Even for new users, it is simple to use.
It provides a selection of templates and pre-made animations to assist you in getting started immediately.
It lets you make a personalized presentation by adding text, pictures, and videos.
You can access your presentations from any location because it is cloud-based.
With a premium option for more functionality, it is available for use without charge.
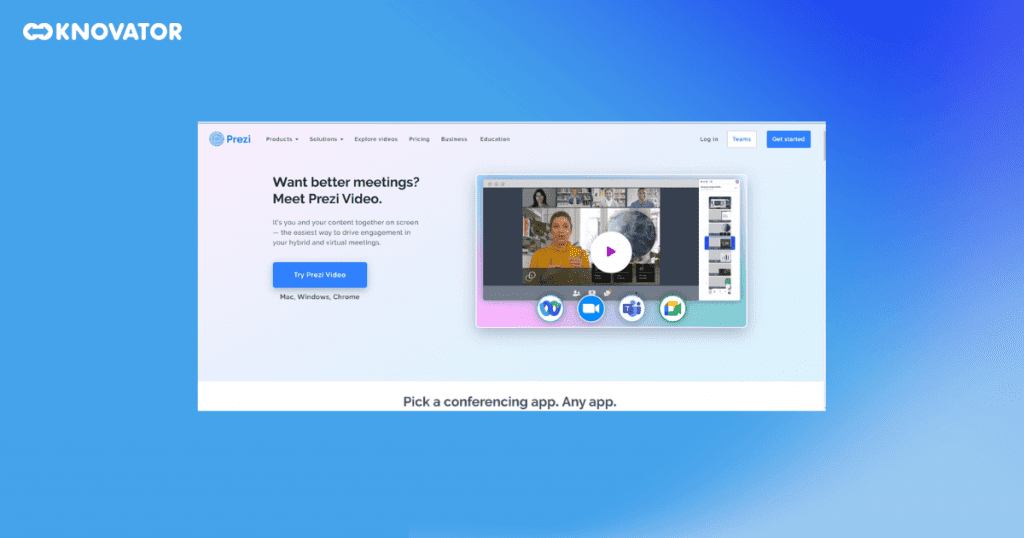
2. Prezi Video
Advantages
You have more creative control over communicating your tale because it lets you make non-linear presentations.
It provides a range of tools to assist you in making visually stunning presentations.
Even for new users, it is simple to use.
Prezi Video is a fantastic choice if you’re searching for a video presentation solution that will enable you to make original and captivating presentations.
3. Vyond
Advantages
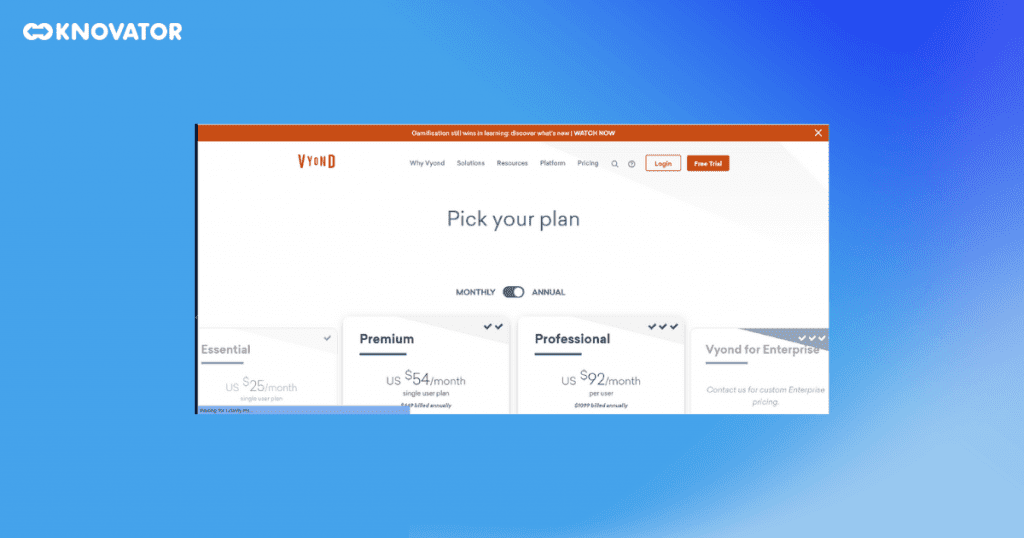
It provides a wide range of ready-made templates for you to utilize in making your film. Depending on the kind of video you want to make—a product demo, an explainer video, or a training video, for example—you can select a template.
Provides a range of ready-made characters that you may incorporate into your film. Characters can be selected according to their race, gender, and outward look. The characters can also be altered to resemble actual individuals.
It enables you to make original animations of your own. With animation tools, you may make intricate and captivating animations.
4. Powtoon
Advantages
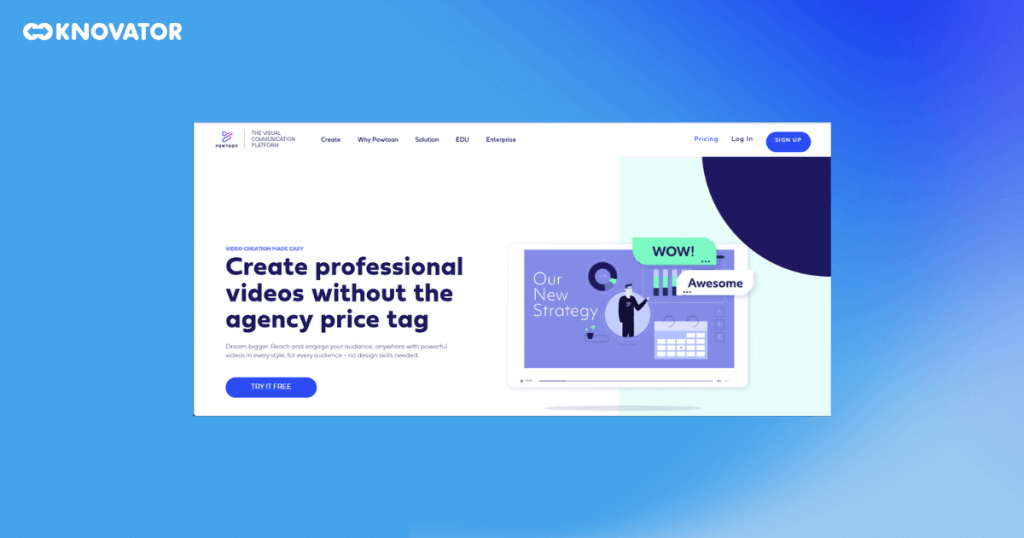
Even for new users, it is simple to use.
It provides a range of ready-made elements and templates to get you going immediately.
It lets you make a personalized presentation by adding text, pictures, and videos.
You can access your presentations from any location because it is cloud-based.
With a premium option for more functionality, it is available for use without charge.
5. Camtasia
Advantages
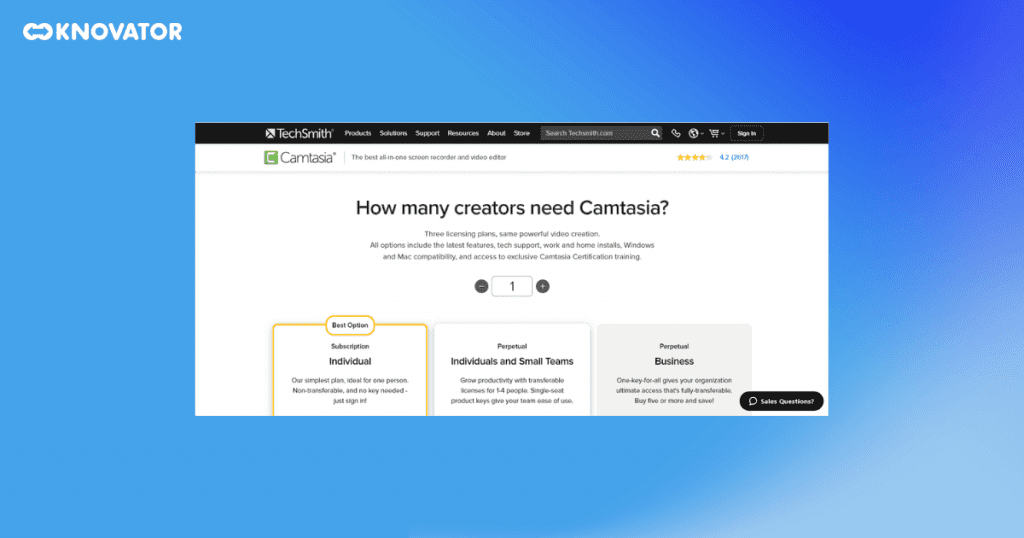
Education: Tutorial and lecture videos, among other types of videos, can be produced with Camtasia.
Business: Training films, product demonstrations, and sales pitches can all be made with Camtasia.
Marketing: Explainer videos, testimonial videos, and promotional videos can all be made with Camtasia.
Video created for personal use: Camtasia can be used to make home movies, travel films, and vlogs.
6. Biteable
Advantages:
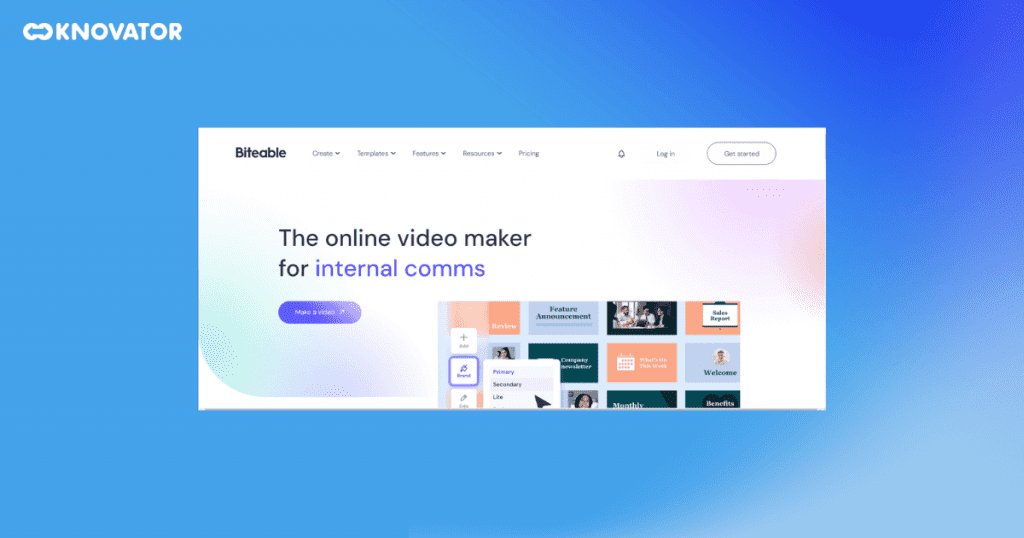
It is simple to use and fast.
It provides a selection of editable pre-made templates.
It is reasonably priced with a free plan and paid plans that include further features.
Because it’s cloud-based, you can see your films from any location.
Steps To Turn Your PPT into a Video
To export a video presentation from PowerPoint, you must first save the presentation as a video file. To do this, go to the File menu & select Export. This will open the Export dialog box.
Step 2: Click on Create a Video
Click on the ‘create a video’ button in the Export dialog box. This will open the Create a Video dialog box.
Step 3: Choose the desired video quality and resolution.
You can pick the desired video quality and resolution in the Create a Video dialog box. The video quality will determine how good the video looks, while the solution will select the size of the video file.
If you are still determining which video quality and resolution to choose, you can select the recommended option for my project. This will choose the best settings automatically for your presentation.
Step 4: Select whether to include narration and timings.
In the Create a Video dialog box, you can also select whether to include narration and timings in the video.
If you have recorded narration for your presentation, you can select the Include narration option to include the narration in the video.
If you have added timings to your presentation, you can select the Include timings option to include the timings in the video.
Step 5: Adjust slide timings if necessary.
You can also adjust the slide timings in the Create a Video dialog box. To do this, click on the Adjust timings button. This will open the Adjust Timings dialog box.
You can move the sliders to adjust the slide timings in the Adjust timings dialog box. You can also enter the desired timings in the boxes.
Once satisfied with the slide timings, click the OK button.
Step 6: Click Create Video to complete the process.
Once you have chosen the desired video quality, resolution, narration, and slide timings, click the Create Video button. This will start the video export process.
The video export process may take some time, depending on the length of your presentation and the video quality and resolution you have chosen.
Once the video export process is complete, the video will be saved to your device. You can then open the video file and play it back.
Tips for Making Video Presentations
Here are some tips for making video presentations:
1. Plan your content and script

Your content should be well-organized and easy to follow. Begin by building an outline of your main points and supporting details. Then, flesh out your design by writing a script. Your script should include all of the text and visuals you want in your video presentation.
When writing your script, keep your audience in mind. Use clear & concise language, without jargon or technical terms your audience may need help understanding. You should also make sure that your script is engaging and interesting. Use storytelling techniques and humor to keep your audience’s attention.
2. Keep your video presentation concise and focused

Consider breaking it up into multiple video presentations if you have much information to cover. This will make it easier for your audience to digest the information and keep them more engaged.
3. Use visuals and animations

When choosing visuals and animations, keep your audience in mind. Choose visuals relevant to your topic and that are likely to resonate with your audience. You should also use only a few visuals, which can be overwhelming and distracting.
4. Incorporate storytelling technique

When telling a story in your video presentation, ensure it is relevant to your topic and has a clear beginning, middle, and end. You should also use storytelling techniques such as character development, conflict, and resolution to keep your audience’s attention.
5. Optimize your video presentation for mobiles

When creating your video presentation, ensure the text is large enough to be read on a small screen. You should also avoid using too many complex visuals or animations, as these can be difficult to view on a small screen.
6. Practice and rehearse your presentation

Pay attention to your delivery, body language, and facial expressions when practicing and rehearsing your presentation. Make sure that you are speaking clearly and that you are projecting your voice. You should also ensure that your body language and facial expressions are engaging and inviting.
Following these six tips, you can create compelling video presentations to inform, engage, and persuade your audience.
Make a lasting impression with your next video presentation right now!
One of the most effective communication tools is the video presentation. They can captivate your audience, impart knowledge, and make lasting impressions.
A standard tool for making video presentations is PowerPoint. It provides a huge range of tools and features that can assist you in creating exciting and polished videos.
You may make educational, entertaining, and motivating video presentations for your audience by adhering to this blog post.
FAQs
Q1 Can I create a video presentation in PowerPoint without narration?
A1: Yes, you can create a video presentation in PowerPoint without narration. Simply exclude the audio component when exporting your presentation as a video.
Q2 Can I edit my video presentation after it has been exported?
A2: Once you have exported your video presentation from PowerPoint, you cannot directly edit the video file. However, you can change the original PowerPoint presentation and export it as a new video.
Q3 Can I share my video presentation on social media platforms
A3: You can share your video presentation on social media platforms such as YouTube, X, Facebook, and LinkedIn. Simply upload the video file or share a link to the video hosted on a platform.
