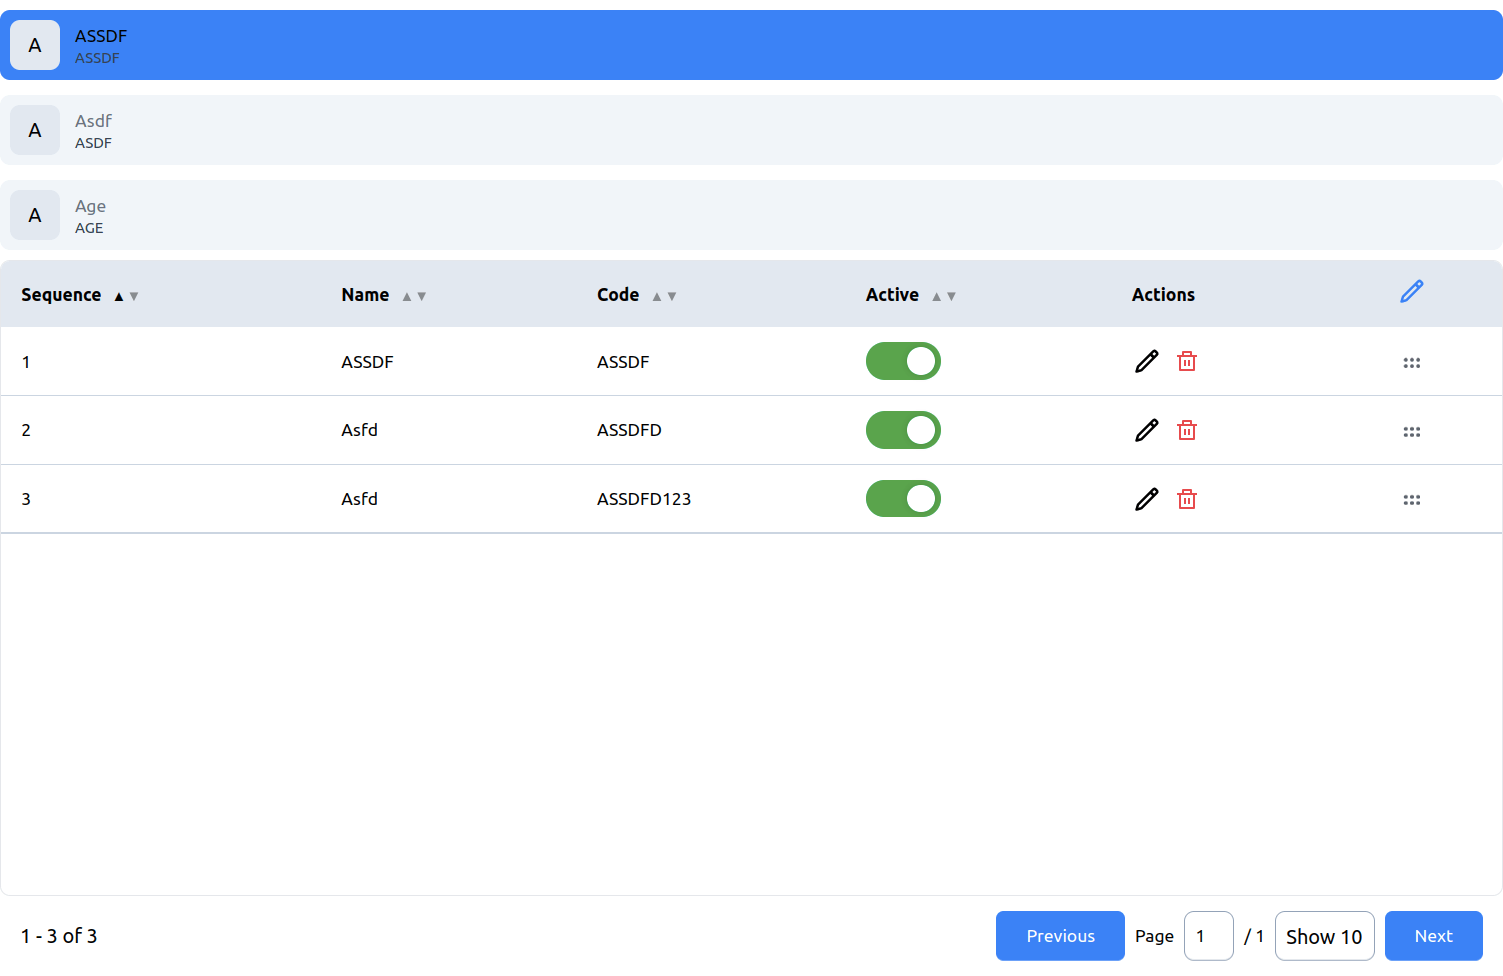
This is Part 2 of using @knovator/masters in your application so that you don’t have to build masters from scratch.
@knovator/master-admin
In Part 1 we explained how to use @knovator/masters-node in your backend application. Here we will see how to use @knovator/masters-admin in your react application.
It provides built-in functionalities for Add, Edit, Delete, Pagination, Search, and supports all sorts of customizations as well, like
- Adding authentication through
JWT token - Managing Permissions
- Arranging
Search,Add Button,Table,Pagination,Formcomponents individually - Setting Pagination Limits
- Changing Styles
- Sorting
- Sequencing
- Customizing Form & Table Fields, and many others
Setup
To start using @knovator/masters-admin we should be having simple ReactJS or NextJS application ready.
So let’s create a ReactJS application and install @knovator/masters-admin into it.
npx create-react-app my-app
cd my-app
npm i @knovator/masters-admin
Usage
@knovator/masters-admin exports the following components to work with,
Provider– Wrapper component to wrapMasterandSubMastercomponentsMaster– Component for Masters functionalitySubMaster– Component for SubMasters functionality
Integrating Masters
- By only writing the following code, we get all mentioned functionalities to manage Masters
import { Provider, Master } from "@knovator/masters-admin";

const App = () => {
  return (
    <div>
      <Provider baseUrl="http://localhost:8080">
        <h2>Master</h2>
        <Master />
      </Provider>
    </div>
  )
}
- Of course, things are not set in stone we can customize parts as well. For example, we can put
Table,Search, andPaginationcomponents individually and update permissions and limits for the data listing as below.
<Master
  permissions={{ add: false, list: true, update: true, destroy: true }}
  limits={[7, 14, 21]}
>
  <div className="search">
    <Master.Search />
  </div>
  <div className="content>
    <Master.Table />
    <Master.Pagination />
  </div>
</Master>
- You can read more information about possible customizations at github.
Integrating SubMasters
- Similar to Masters, we can integrate SubMasters as well. SubMasters data are dependent on Masters data, as we select the master item, submaster data gets updated.
Mastercomponent comes with Lister component, which helps in selecting the Master item.
import { Provider, Master, SubMaster } from "@knovator/masters-admin";

const App = () => {
  return (
    <div>
      <Provider baseUrl="http://localhost:8080">
        <Master>
          <Master.Lister />
          <SubMaster>
            <SubMaster.Table />
            <SubMaster.Pagination />
          </SubMaster>
        </Master>
      </Provider>
    </div>
  )
}
- Similar to the
Mastercomponent we can provide all kinds of customizations in theSubMastercomponent as well.
Also Read : Image Resizing with Knovator
Changing Styles
Masterspackage is built with a set of classes, the styling of any part can be changed just by adding the required CSS to the class in your application.- For example, we can change button colors by following the style.
.kms_btn-primary:disabled {
  background-color: brown;
}
You can read more information about possible customizations at github.
Found useful to you? Please give it a try and feel free to contact us if found any issues.
Also Read : Mobile-first website development using React.js tips


